
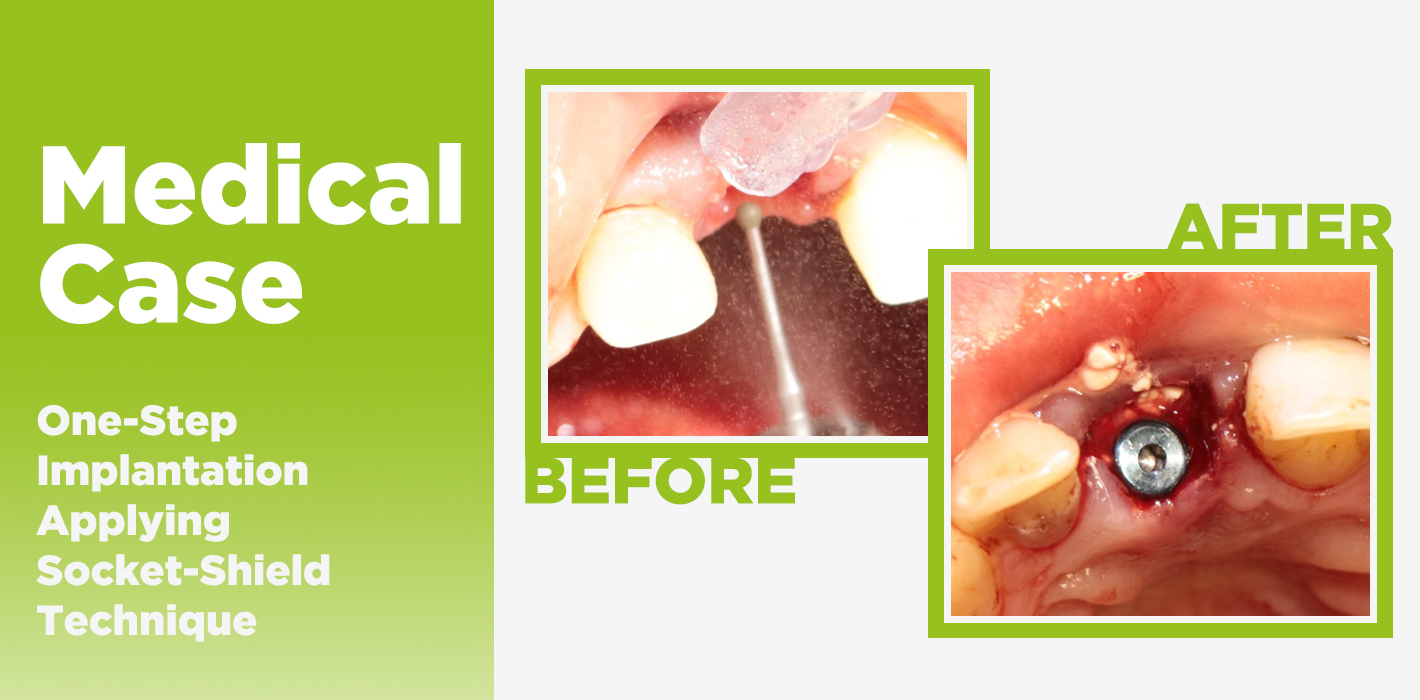
A front alveolar socket and its preservation after tooth extraction is the key factors for decent aesthetic and functional result after immediate implantation in front teeth zone. Sometimes even with atraumatical tooth extraction technique there is still a risk of vestibular tooth socket trauma. For that reason the dentists have to postpone dental implant placement and to start bone augmentation treatment. This result in longstanding rehabilitation period and extra costs for patient. With such risk the «socket-shield» (Hürzeler et al., 2010), technique is highly applicable option because it provides tooth root parts, attach in front vestibular tooth socket, while palatal part is extracted with root-canal.
Clinical Case
A patient, 28 years, came to a dentist complaining on fistula on a gum, movability of artificial crown of 11 tooth that was made 10 years ago.
Examination has showed fistulous tract over 11 tooth, gingival fistula probing detected connection with a contact area of tooth root with a pin construction, and its movability.
The CBCT showed fracture of 11 tooth root as well as a significant replacement of construction in relation to other tooth alveolar socket.
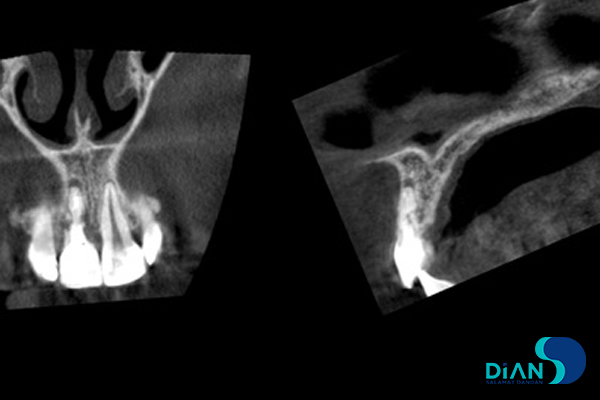
In this situation, there are no options for tooth restoration in terms of unreliable result. So the patient rejected such tactics. It was decided to do immediate implantation after tooth extraction. The dentist made treatment plan and implants position according to the size of CBCT results.
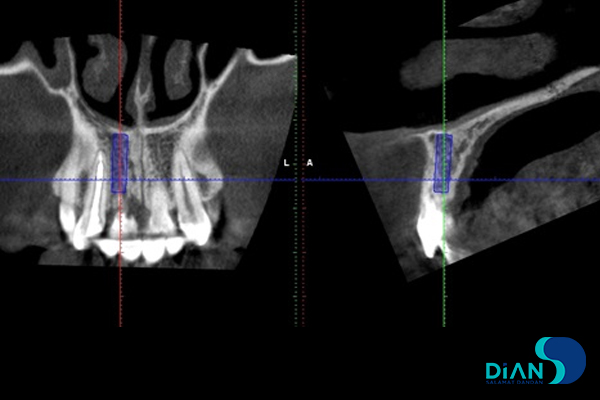
In addition he chooses Bio3 Progressive active implant 3.8/13 according to the D2-D3 bone type in order to achieve a sufficient primary stability for successful osseointegration.
Progress of Implantation Surgery
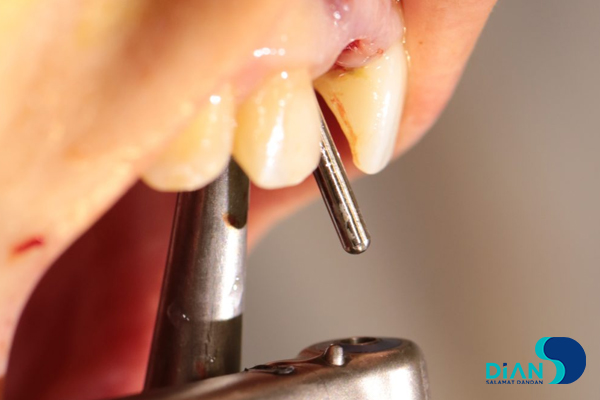
Under local anesthesia of DS-Forte articaine 4% the dentist made syndesmotomy and removed artificial tooth crown.
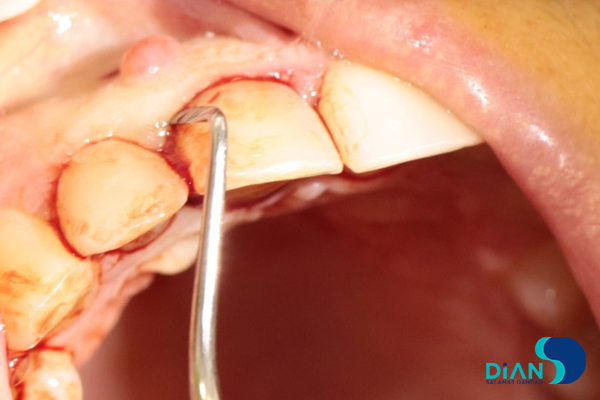
The root of the tooth root was divided into vestibular and palatal fragments.
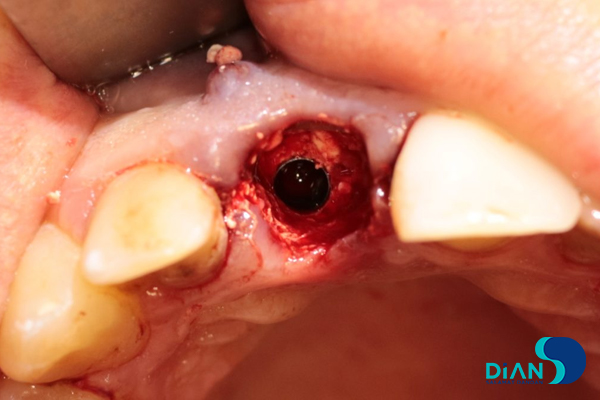
In the process of vestibular root fragment extraction the dentist found its interlocking with alveolar socket. There was a risk that a root fragment would break off with a part of alveolar socket. It was decided to apply «Socket shield» technique. The palatal root fragment was removed.
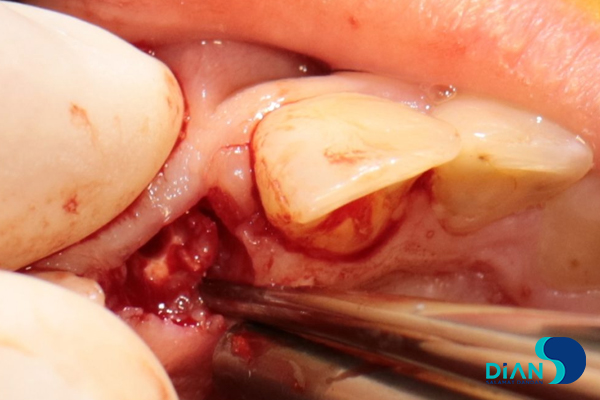
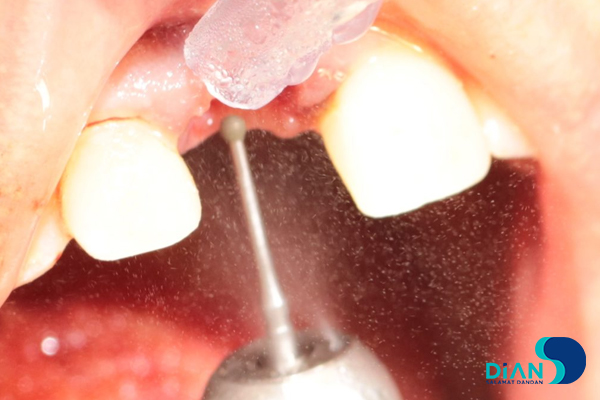
Then the dentist polished remained root part and conducted alveoli curettage.
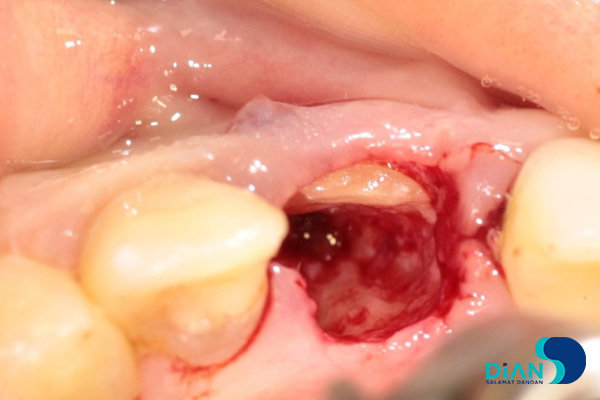
The alveolar socket was washed with antiseptic solution, and then the dentist made osteotomy while considering the future correct position of dental implant in the socket in relation to 12, 21 and 31 teeth.
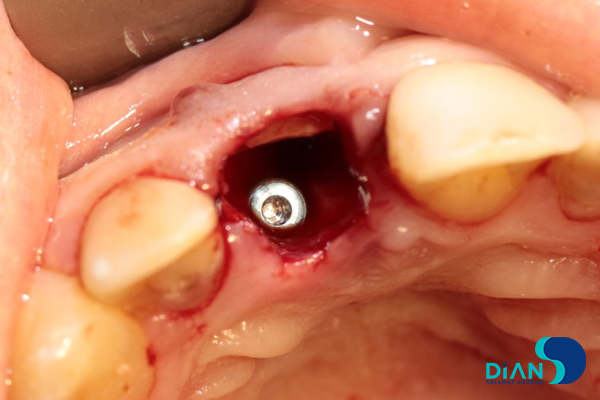
He formed implant bed by following Bio3surgical protocols.
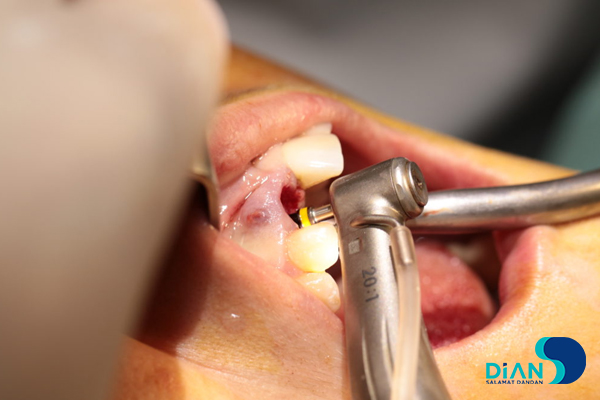
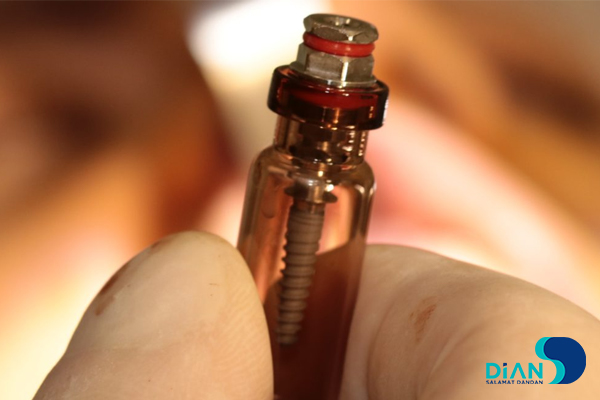
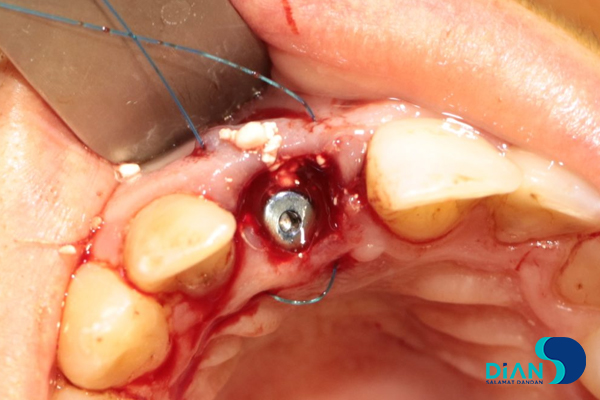
Bio3 implant Progressive 3.8/13 was entered from the box and fixed with 20-25 N/cm2 loading.
Cover screw was placed.
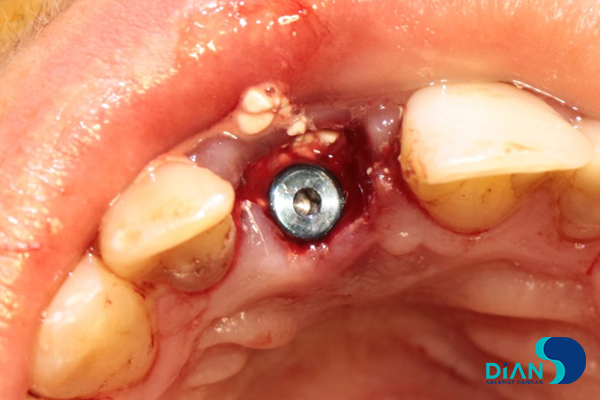
The gap between the implant and the tooth root was filled with bone material.
The screw cap was replaced by the healing abutment.
The gum edges were sutured with U-shaped seam.
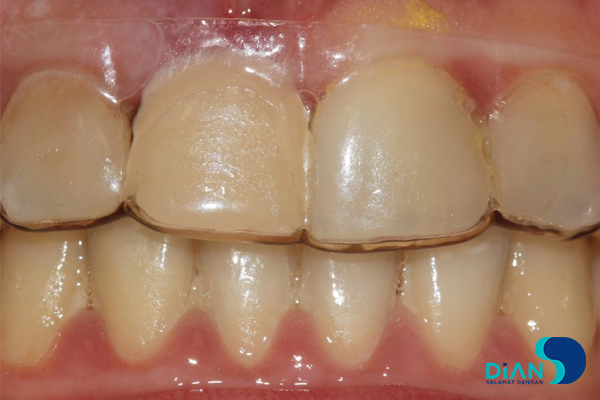
In order to hide defect in aesthetic zone the dentist made temporary cap, which will be used before implant integration.
During rehabilitation period, the dentist prescribed postoperative analgesic and antibiotic therapy in accordance with international protocols to the patient.